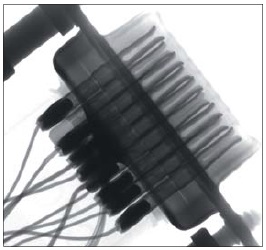
In X-ray inspection of connectors and harnesses, molded connectors, crimped and press-fit parts, soldered parts, wires, and shielded wires are inspected to detect defects such as breaks and shorts. Especially to detect overlapping metal parts such as terminals, internal wire breakage, missing crimping parts, solder defects. When you inspect a connector consisting of several pins, observation in different directions is needed so as not to overlap each other by rotating the sample stage.
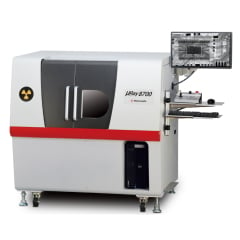
The μRay8700 X-ray inspection system has a high voltage of 130kV and a high power of up to 40W X-ray source, enabling clear observation even in areas where metal overlaps. In addition, cross-sectional observation by CT scan provides a clear view of each cable in the crimping area, as well as of insufficient solder and internal bubbles.
| Focal spot | Microfocus |
|---|---|
| X-ray tube voltage | 90 to 130 kV |
| Magnification | 1 to 100x |
Recommended products
Information on related articles in Technical Knowledge
- The Right Way to Choose appropriate X-ray Inspection System
- Principles of Radiography
- How to use X-ray Inspection System safely
- What is Microfocus X-ray? (Basic Knowledge)
- Computed Tomography (CT) Basic and Principle
- Non-Destructive Testing: Types and Applications
- What are X-rays? (Basic Knowledge)
- How to Take Beautiful X-ray CT Images? - X-ray Non-Destructive Inspection series (1) -
- How to View X-ray CT Images - X-ray Non-Destructive Inspection series (2) -
- X-ray Image Processing and Automated Inspection - X-ray Non-Destructive Inspection series (3) -
- Types of X-ray tubes and high-voltage power supplies
- What is the difference between Radioactivity, Radiation, and Radioactive Materials?
- Radiation Effects on the Human body and the safety of X-ray equipment


