Python has become a standard tool in engineering and research due to its simplicity and flexibility. It is widely used for everything from data analysis to hardware control. This guide covers the essentials of Python programming for equipment control, starting with environment setup and moving to practical applications for communicating with power supplies and measuring instruments. Whether you are automating tests or integrating systems, this article provides the foundational knowledge needed to control Matsusada Precision hardware.
What is Python?
Python is one of many programming languages that, as mentioned in the introduction, features a simple and intuitive syntax. Its readable code structure is one of its most popular attributes.
Basic Python Structure
First, let's go over the basic structure of Python.
Computer
You don't need high-performance hardware to run Python-an ordinary computer will work just fine. The following specifications are sufficient:
- CPU: Dual-core processor or better (Core i5 or equivalent recommended)
- RAM: 8GB or more (16GB recommended for data analysis)
- Storage: SSD recommended with at least several GB of free space
Setting Up a Programming Environment
To start using Python, you need a code editor to write your programs and Python itself to execute the code.
Setting up a Python environment may also require installing external libraries. For example, libraries like pandas and NumPy are used for data analysis, scikit-learn and TensorFlow for machine learning, and Django or Flask for web development. These libraries can be easily installed using pip, the package management tool that comes with Python. For instance, you can install the pandas library by simply typing:
"pip install pandas".
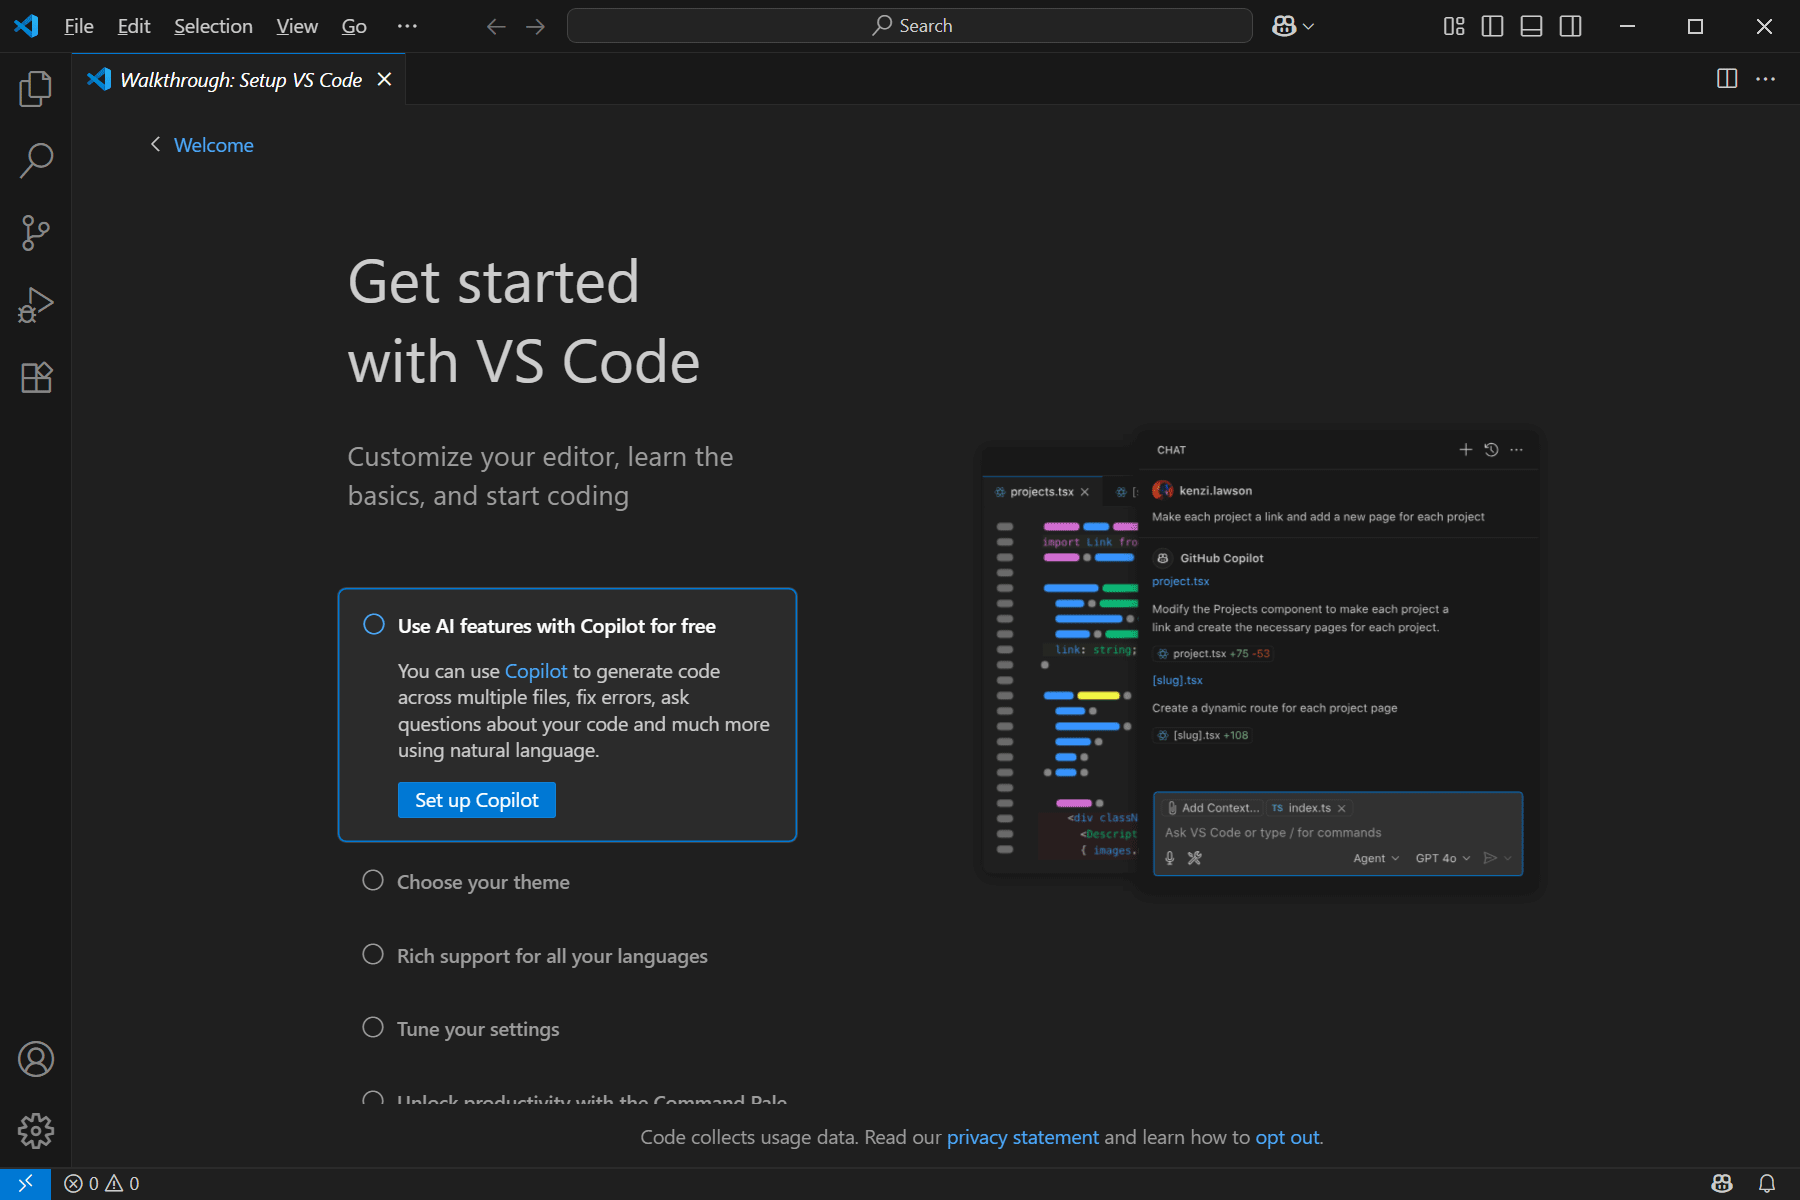
To enhance your coding experience (coding being the process of creating program instructions that direct a computer to perform specific tasks), it's helpful to install a code editor such as Visual Studio Code (VS Code).
Additionally, it's recommended to create and use virtual environments to manage separate dependencies for different projects. Virtual environments help prevent library version conflicts between projects.
Now, let's set up your programming environment with this step-by-step guide.
1. Download Visual Studio Code
Download the VS Code installer by clicking "Download for Windows" on the official website:
Link to download Visual Studio Code2. Install Visual Studio Code
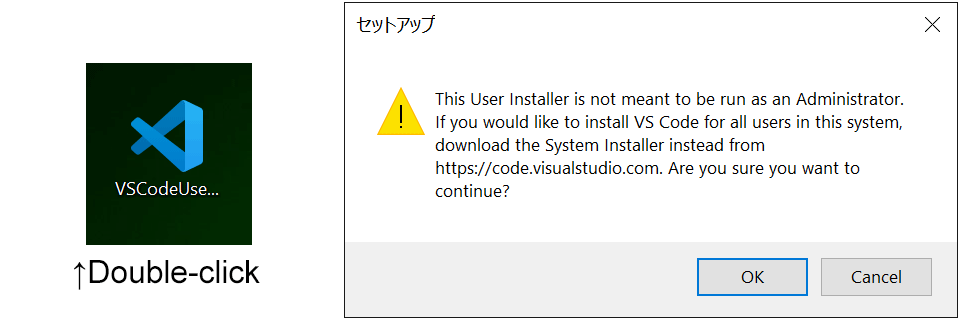
Double-click the downloaded file to run it.
A warning message may appear; click "OK" to continue.
- Steps to install Visual Studio Code
-
-
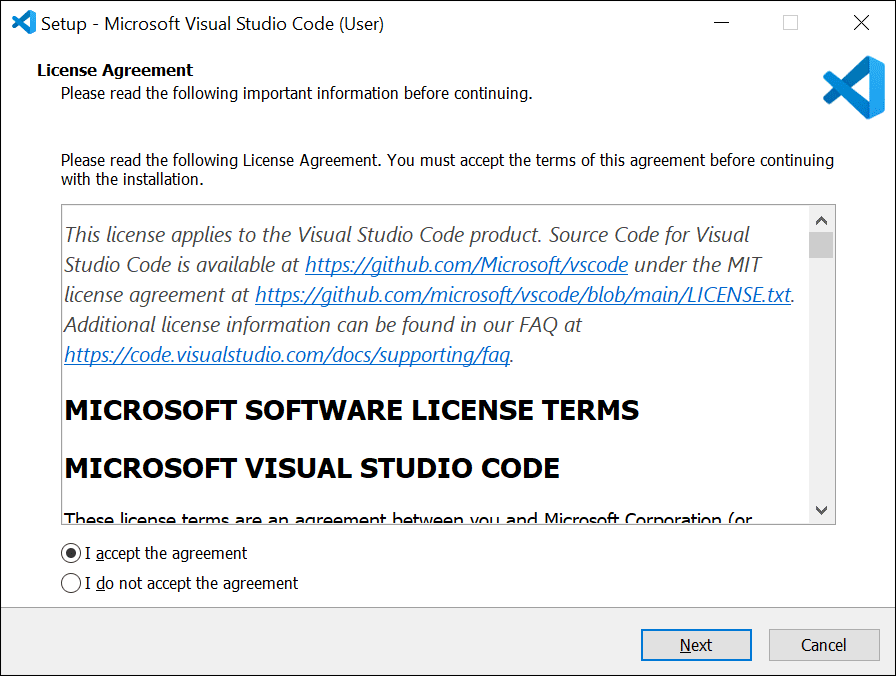
When the "Accept License Agreement" screen appears, check "I agree" and click "Next."
-
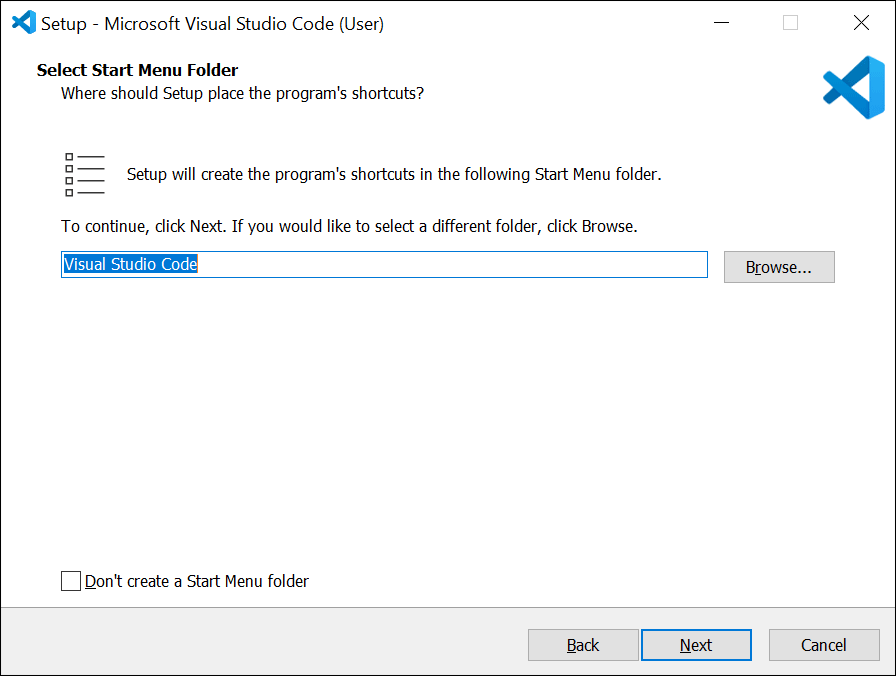
On the "Specify the installation location" screen, select your preferred folder.

-
If you have no preference, leave the default folder selected and click "Next."
-
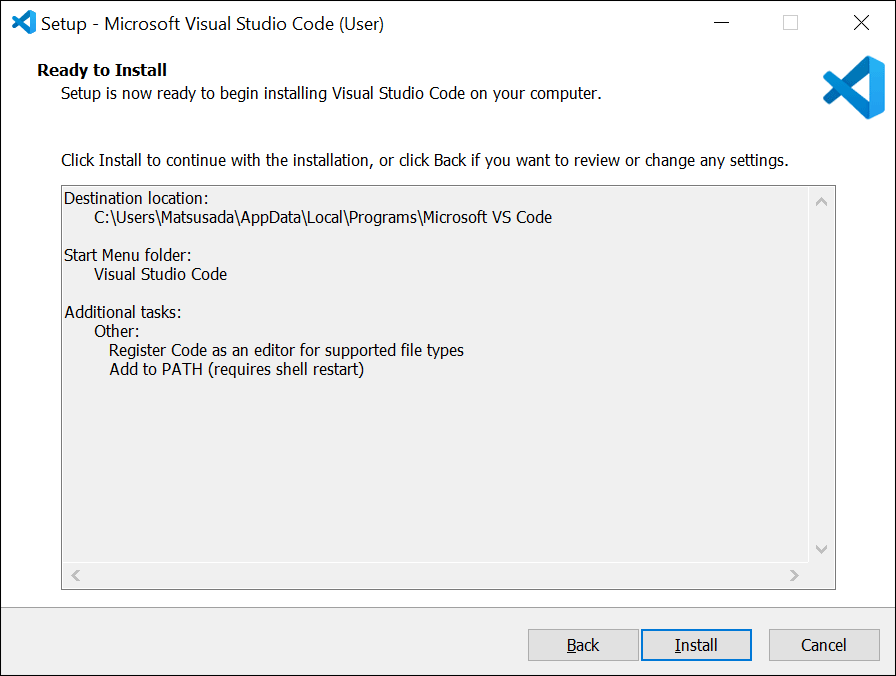
On the "Select Additional Tasks" screen, check the following options:
"Register Code as the default editor for supported file types" (second option from the bottom)
"Add to PATH (available after restarting)" (bottom option)
-
When the "Ready to Install" screen appears, click "Install."

-
Once the installation is complete and the "Setup Wizard Complete" screen appears, click "Finish."

-
3. Localization for VS Code (ex. Japanese)
- Steps to convert to Japanese (If you prefer to keep the English, you can skip this step.)
-
-
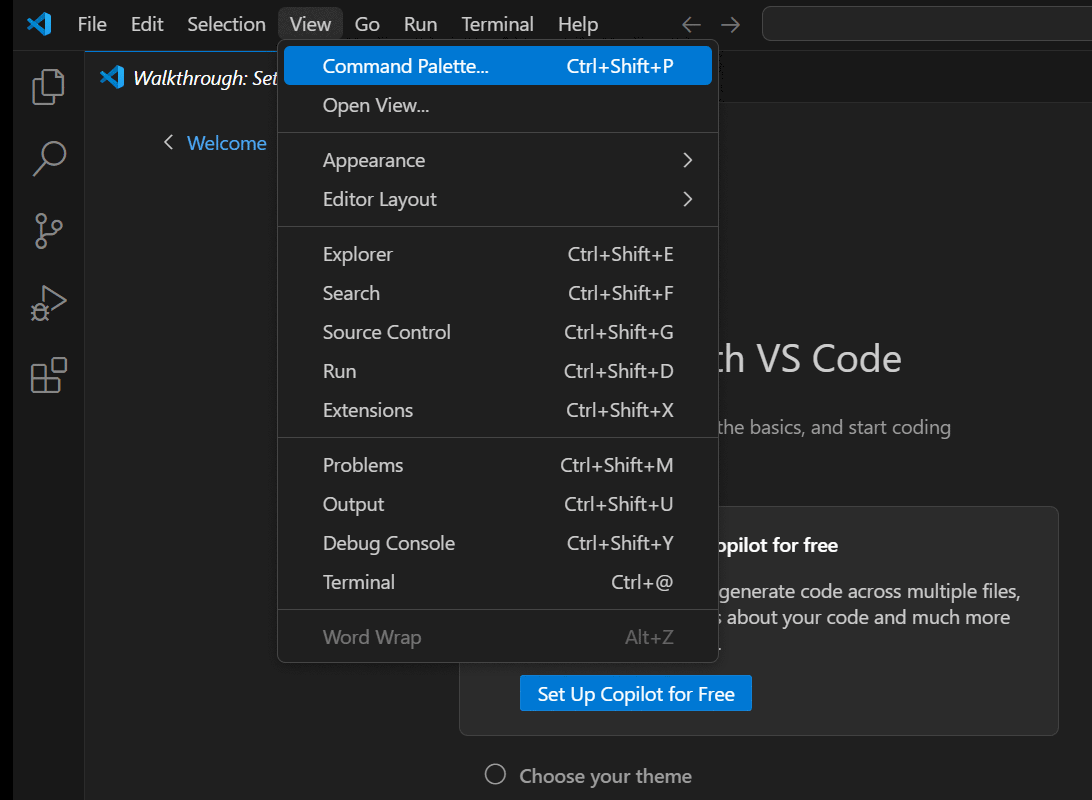
Open the View menu and click "Command Palette."
-
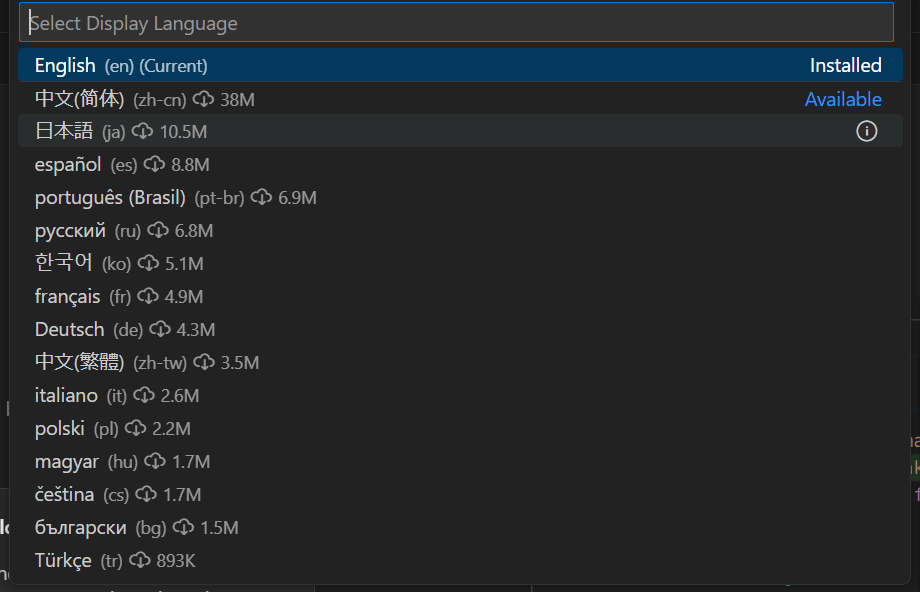
Type "Confi" in the input field and select "Configure Display Language."

-
Select "Japanese" from the list.
-
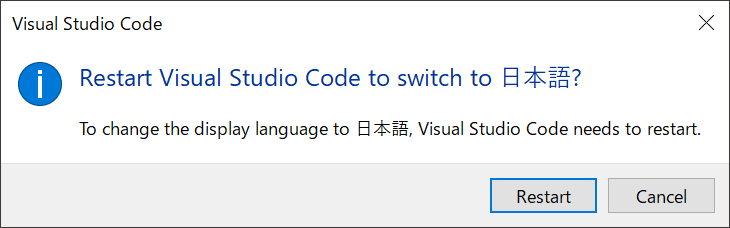
Click "Restart" to apply the language settings and relaunch VS Code in Japanese.

-
4. Install Python
To set up the Python runtime environment, download the latest version of Python from the official website (Python.org ) and install it. The installer is compatible with Windows, Linux, and macOS, making setup easy across platforms.
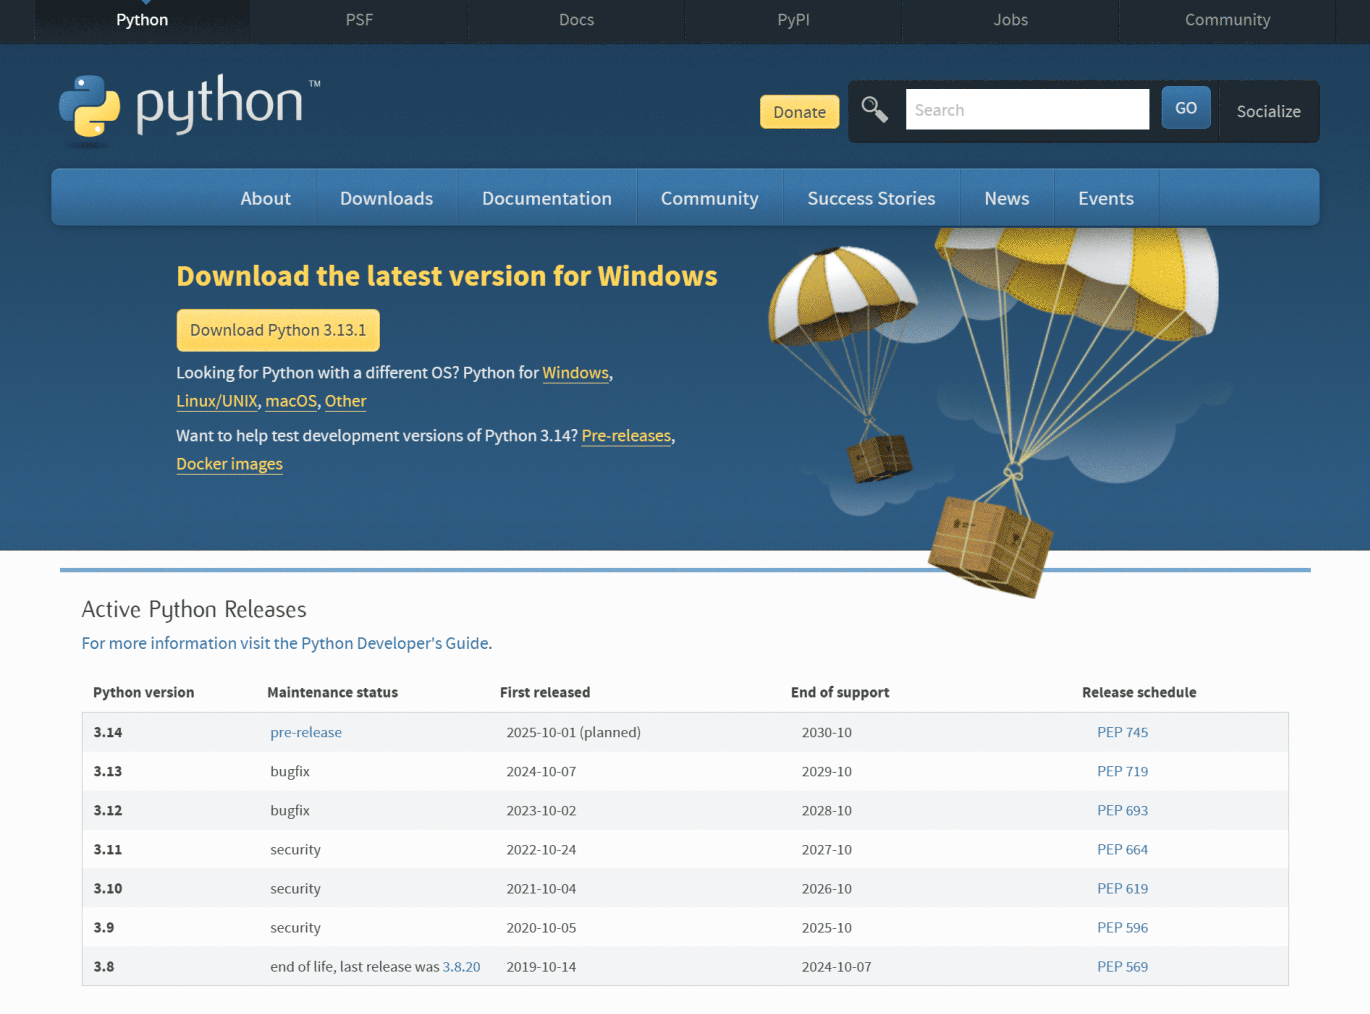
Download the version of Python that matches your operating system. In this example, we'll download Python for Windows.
-
Run the downloaded installer.
Check the option "Add python.exe to PATH."
Click "Install Now."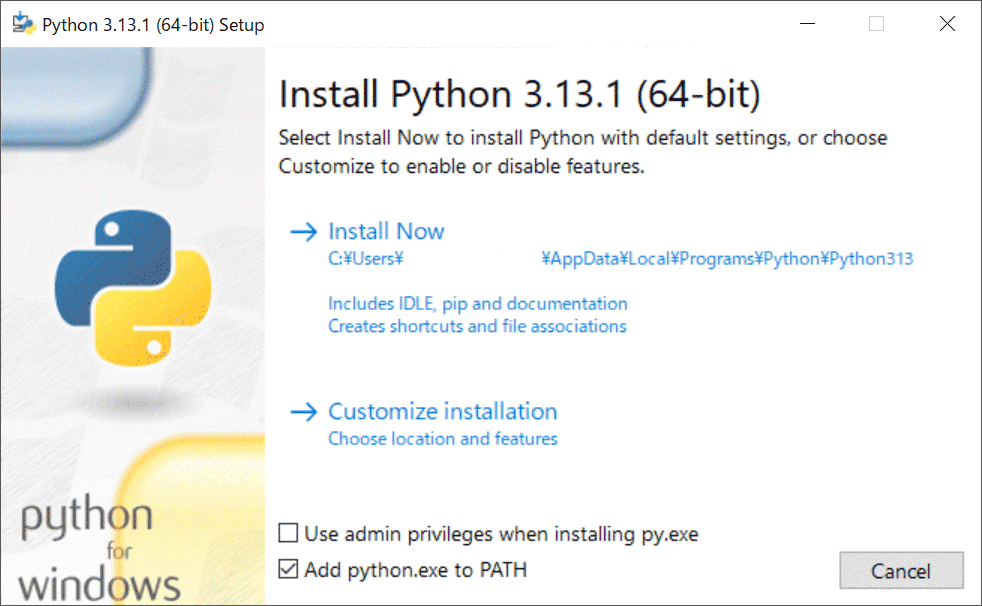
-
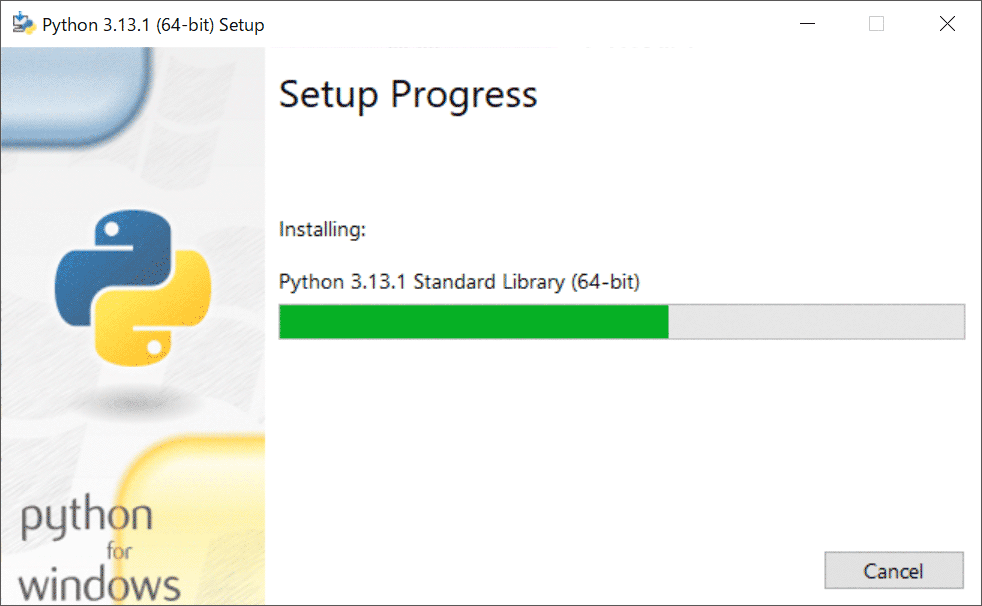
The installation will begin.
-
Once the process is complete, Python is ready to use.
Communication with Power Supplies and Instruments
When using Python to communicate with hardware, such as power supplies and measuring instruments, interfaces like USB, serial communication, and Ethernet are commonly used. Python offers numerous standard and external libraries that enable communication with hardware through these interfaces.
Installing Communication Libraries
Python has a rich collection of pre-defined libraries specialized for communicating with and controlling instruments, power supplies, and microcontrollers.
For example, the pyserial library is commonly used when connecting to measuring devices via serial communication. pyserial also supports serial port connections via USB and can be installed with the following command:
Select "Terminal"> "New Terminal" from the Visual Studio Code menu to open a terminal.
Type pip -version to verify that pip is working properly.

Note: Depending on how Python was installed, the path to the installation location might not be properly configured. In this case, the pip command may not be recognized. To resolve this, either register the Python installation PATH in your Windows system settings or run the command with py -m before pip (for example, py -m pip install pyserial).
Next, let's check which libraries are currently installed. Type "pip list" at the command prompt. If no additional libraries have been installed yet, only pip will be listed.
Now, let's install the pyserial library to enable serial communication in Python. Type pip install pyserial at the command prompt.
- Sh
-
pip install pyserial
Once the installation is complete, type "pip list" again to confirm that the library has been added.
The pyserial library allows you to send commands to instruments through a serial port and receive responses. Here's a simple example of how to use it:
- python
-
import serial
ser = serial.Serial('COM3', 9600, timeout=1)
ser.write(b'*IDN?\n')
response = ser.readline().decode()
print(response)
ser.close()
When retrieving data from instruments for control or monitoring purposes, you'll use commands like the one above to establish a connection.
Many power supplies and measuring instruments use a standardized command system called SCPI (which stands for Standard Commands for Programmable Instruments).
To work with SCPI in Python, you need to write programs that send appropriate commands and process the responses. By combining serial and Ethernet communications, you can create an environment that allows you to easily control a wide variety of hardware from Python.
Python Programming
Controlling Power Supplies via COM Ports (USB Serial, RS-232C)
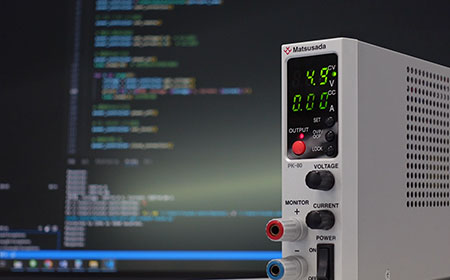
Let's examine how to control power supplies using COM ports such as USB serial or RS-232C. This example demonstrates Python programming with serial communication to turn power supplies on and off using the PySerial library through an RS-232 connection.
Installing Required Libraries
When performing serial communication (RS-232, RS-485, etc.) in Python, the PySerial library is commonly used. PySerial simplifies sending and receiving data through serial ports, enabling communication between a PC and devices such as microcontrollers (Arduino, Raspberry Pi, etc.) or measuring instruments with serial ports.
For example, you can acquire and monitor sensor data in real time or control devices remotely. It is also possible to communicate with multiple devices simultaneously.
To install PySerial, refer to the instructions in the previous chapter.
Preparing the Power Supply for Control
To control a power supply from a PC using serial communication (RS-232, RS-485, etc.), connect the PC's COM port to the power supply using a serial cable.
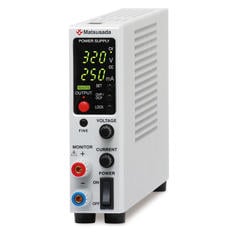
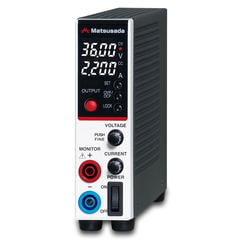
Recently, USB ports have increasingly been used as virtual COM ports by connecting conversion adapters or directly recognizing USB-connected devices as COM port devices. Many of Matsusada Precision's power supplies also function as COM port devices when connected via USB.
Here, we'll explain how to connect the RK-80 series via USB:
First, install the necessary driver and connect the PC to the power supply.
(For detailed driver installation instructions, please refer to the separate instruction manual.)
- Steps to check COM port
-
-
Next, check the COM port assignment:
Type "Device Manager" in the Windows search field to open Device Manager.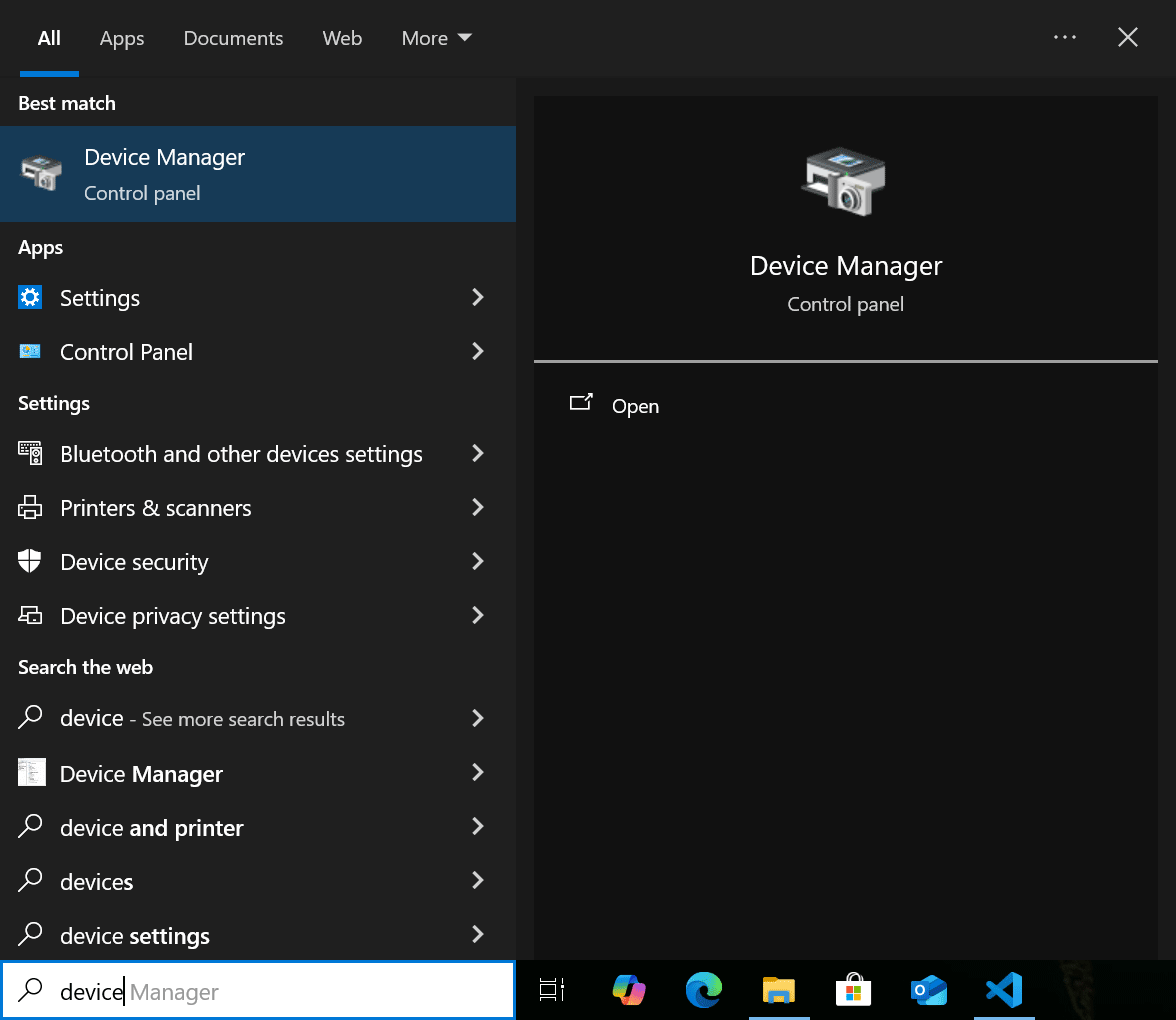
-
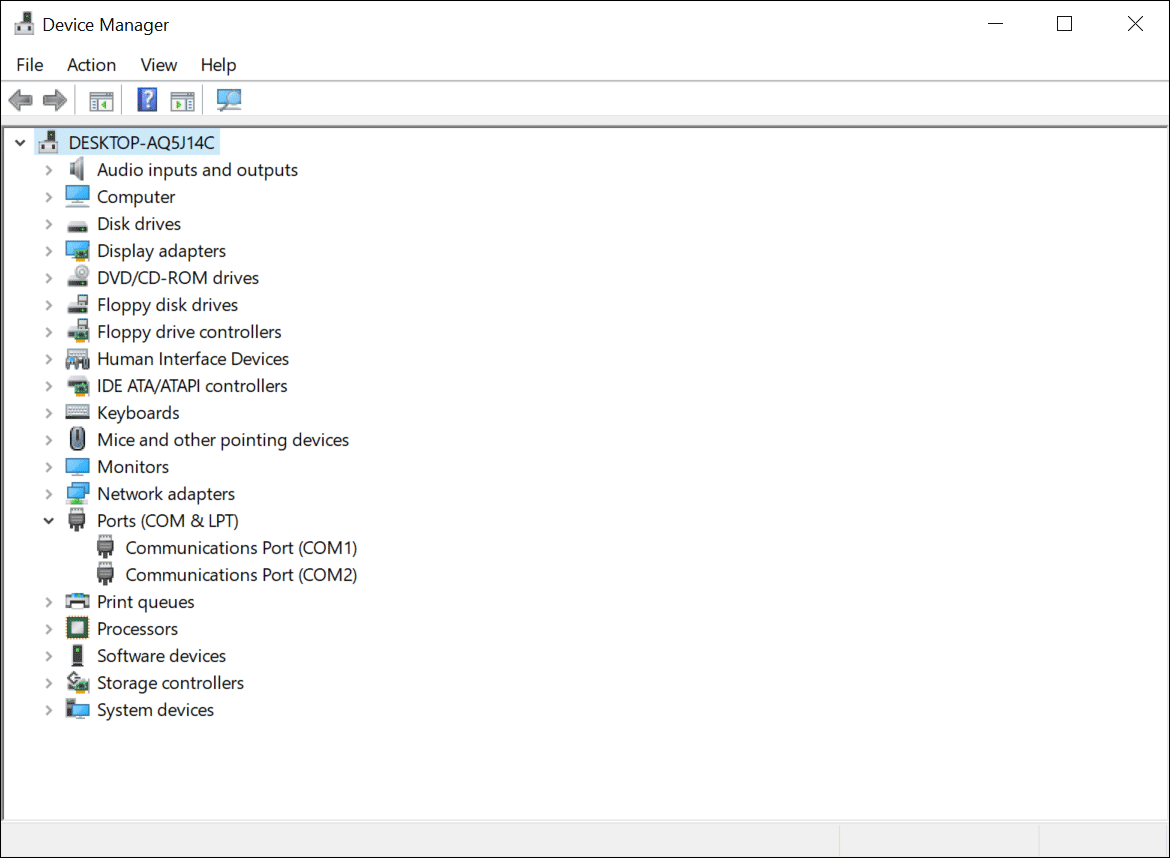
Select the communication port where the power supply is connected from the Ports (COM & LPT) section.
-
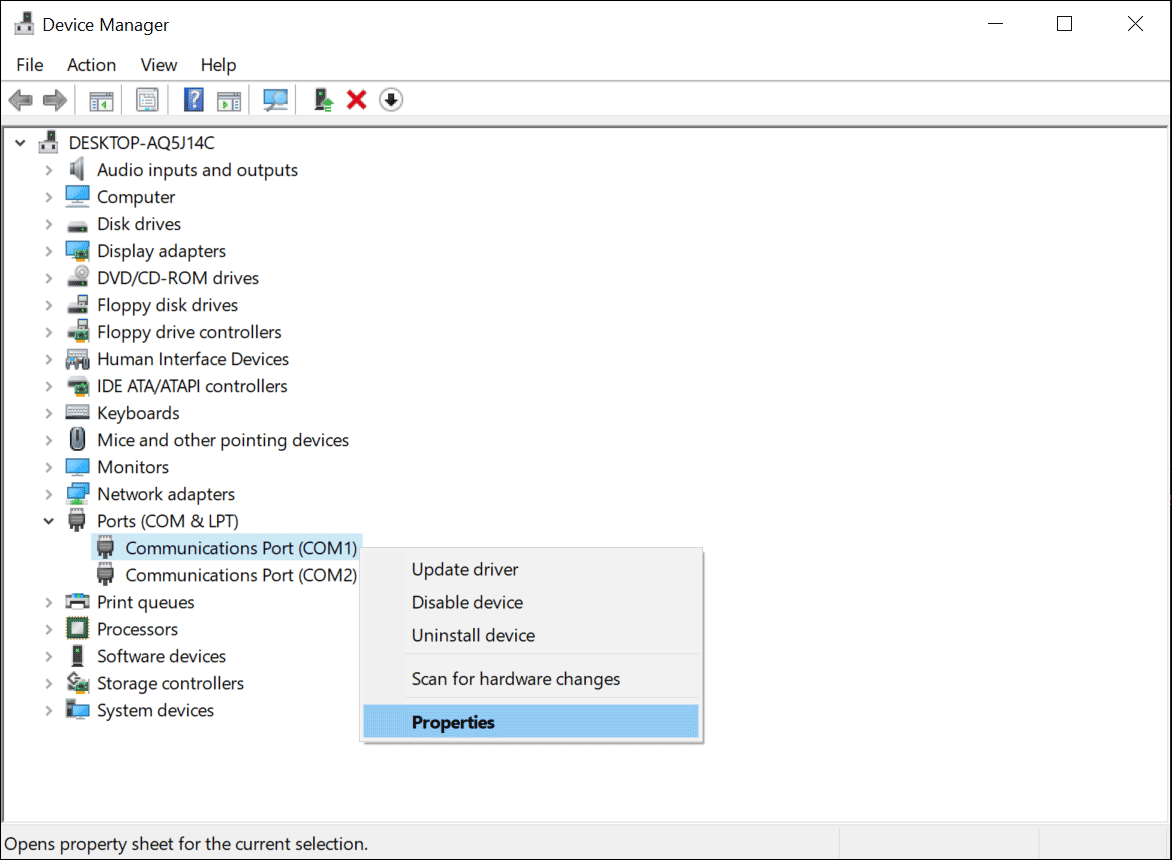
Right-click and select Properties.
-
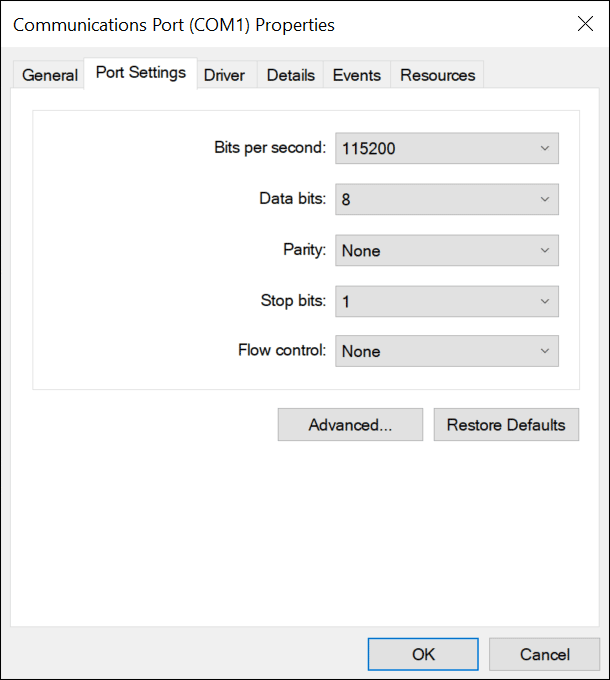
Configure the port settings according to the communication specifications of the power supply.
-
Opening the Port and Checking the Power Supply Status
The following example program opens the COM port and reads the status of the power supply. Save the sample code below and open it in Visual Studio Code.
Note: Replace port_name in the initial settings with the actual COM port name (e.g., COM3 or COM4 on Windows or /dev/ttyUSB0 on Linux/Mac). The baudrate represents the serial communication speed (e.g., 9600). Adjust this according to your device specifications. If you have changed the unit number of the power supply from "#1," update it accordingly in the code.
#Sample Code: Open the port and check the power supply status
#Description: This script demonstrates how to open the port and check the power status.
#Language: Python
import serial
import time
class PowerSupplyController:
    def __init__(self, port , baudrate=9600, timeout=1):
        self.port = port
        self.baudrate = baudrate
        self.timeout = timeout
        self.serial_conn = None
    def open_connection(self):
        """Open the serial port."""
        self.serial_conn = serial.Serial(port=self.port, baudrate=self.baudrate, timeout=self.timeout)
        print(f"Connected to {self.port} at {self.baudrate} baudrate.")
    def close_connection(self):
        """Close the serial port."""
        if self.serial_conn and self.serial_conn.is_open:
            self.serial_conn.close()
            print("Connection closed.")
    def send_command(self, command):
        """Send a command and print the response."""
        if self.serial_conn and self.serial_conn.is_open:
            # Encode command to bytes and write to serial port
            self.serial_conn.write(command.encode("utf-8"))
            # Wait briefly for command processing
            time.sleep(0.1)
            # Read response
            response = self.serial_conn.readline().decode().strip()
            print(f"Response: {response}")
            return response
        else:
            print("Connection is not open.")
            return None
    def status(self):
        """Check the power supply status."""
        # Note: Update the unit number (#1) to match your device configuration.
        command = "#1 STS\r\n"
        self.send_command(command)
        print(f"Command{command}")
# Main program
if __name__ == "__main__":
    # Serial port configuration
    # Update 'port_name' based on your environment (e.g., 'COM3' for Windows, '/dev/ttyUSB0' for Linux)
    port_name = "COM3"
    # Create an instance and open the connection
    power_controller = PowerSupplyController(port=port_name)
    power_controller.open_connection()
    # Send status check command
    power_controller.status()
    # Close the connection
    power_controller.close_connection()
From the Visual Studio Code menu, select Run > Start Debugging to execute the program. The results will be displayed in the terminal. Typically, the terminal will display something such as "#1 CO LO CC."

Setting Voltage and Current, Turning Output ON/OFF
Now that we've confirmed communication with the power supply, let's control the output. The following program sets the power supply to remote control mode, configures the output voltage to 5V and current to 1A, turns the output ON, and then turns it OFF after 5 seconds.
Note: This program will turn ON the power supply output. Ensure that nothing is connected to the output terminals before running the program.
Program Explanation
To set the power supply to remote mode, send the "REM" command. To switch back to local mode, send the "GTL" command.
The set_voltage and set_current methods configure the voltage and current values. The exact command format varies by device, but most Matsusada Precision power supplies use "VSET" for voltage and "ISET" for current.
The commands for turning the power supply ON/OFF also depend on the specific device, but most Matsusada Precision power supplies use "SW1" to turn the output ON and "SW0" to turn it OFF.
#Sample Code: Voltage/Current Setting and Output Control
#Description: This script demonstrates how to control the power supply output using serial communication.
#Language: Python
import serial
import time
class PowerSupplyController:
    def __init__(self, port , baudrate=9600, timeout=1):
        self.port = port
        self.baudrate = baudrate
        self.timeout = timeout
        self.serial_conn = None
    def open_connection(self):
        """Open the serial port"""
        self.serial_conn = serial.Serial(port=self.port, baudrate=self.baudrate, timeout=self.timeout)
        print(f"Connected to {self.port} at {self.baudrate} baudrate.")
    def close_connection(self):
        """Close the serial port"""
        if self.serial_conn and self.serial_conn.is_open:
            self.serial_conn.close()
            print("Connection closed.")
    def send_command(self, command):
        """Send a command"""
        if self.serial_conn and self.serial_conn.is_open:
            self.serial_conn.write(command.encode("utf-8"))
            time.sleep(0.1) # Wait briefly for command processing
            response = self.serial_conn.readline().decode().strip()
            print(f"Response: {response}")
            return response
        else:
            print("Connection is not open.")
            return None
    def status(self):
        """Check the power status"""
        # Note: Update the unit number (#1) to match your device settings.
        command = "#1 STS\r\n"
        self.send_command(command)
        print(f"Command{command}")
    def set_remote(self):
        """Set to remote mode"""
        command = "#1 REN\r\n" # Set to remote mode
        self.send_command(command)
    def set_local(self):
        """Set to local mode"""
        command = "#1 GTL\r\n" # Set to local mode
        self.send_command(command)
    def set_voltage(self, voltage):
        """Set voltage"""
        command = f"#1 VSET {voltage:.2f}\r\n" #Voltage setting command
        self.send_command(command)
    def set_current(self, current):
        """Set current"""
        command = f"#1 ISET {current:.2f}\r\n" #Current setting command
        self.send_command(command)
    def power_on(self):
        """Turn power ON"""
        command = "#1 SW1\r\n"
        self.send_command(command)
    def power_off(self):
        """Turn power OFF"""
        command = "#1 SW0\r\n"
        self.send_command(command)
# Main program
if __name__ == "__main__":
    # Serial port configuration
    # Update 'port_name' based on your environment (e.g., 'COM3' for Windows, '/dev/ttyUSB0' for Linux)
    port_name = "COM3"
    # Create an instance and open the connection
    power_controller = PowerSupplyController(port=port_name)
    power_controller.open_connection()
    try:
        # Enable remote mode
        power_controller.set_remote()
        # Set output parameters
        power_controller.set_voltage(5.0)  # Set to 5.00 V
        power_controller.set_current(1.0)  # Set to 1.00 A
        # Turn output ON
        power_controller.power_on()
        # Maintain output for 5 seconds
        time.sleep(5)
        # Turn output OFF
        power_controller.power_off()
        # Return to local mode
        power_controller.set_local()
    except Exception as e:
        print(f"An error occurred: {e}")
    finally:
        # Ensure the connection is closed
        power_controller.close_connection()
When this program is executed, the voltage will be set to 5V and the current to 1A. The output LED on the front panel will light up and then turn off after five seconds.
Retrieving Current Output Values
Finally, here's a program to monitor the output status. We'll add code to the previous program to retrieve the voltage and current readings during output.
#Sample Code: Get the current output value
#Description: This script demonstrates how to get the current output value.
#Language: Python
import serial
import time
class PowerSupplyController:
    def __init__(self, port , baudrate=9600, timeout=1):
        self.port = port
        self.baudrate = baudrate
        self.timeout = timeout
        self.serial_conn = None
    def open_connection(self):
        """Open the serial port."""
        self.serial_conn = serial.Serial(port=self.port, baudrate=self.baudrate, timeout=self.timeout)
        print(f"Connected to {self.port} at {self.baudrate} baudrate.")
    def close_connection(self):
        """Close the serial port."""
        if self.serial_conn and self.serial_conn.is_open:
            self.serial_conn.close()
            print("Connection closed.")
    def send_command(self, command):
        """Send a command to the power supply."""
        if self.serial_conn and self.serial_conn.is_open:
            self.serial_conn.write(command.encode("utf-8"))
            time.sleep(0.1) # Allow time for command processing
            # Read response if available
            if self.serial_conn.in_waiting > 0:
                response = self.serial_conn.readline().decode().strip()
                print(f"Response: {response}")
                return response
            return None
        else:
            print("Connection is not open.")
            return None
    def status(self):
        """Check the power supply status."""
        # Note: Change the unit number (#1) strictly according to your device settings.
        command = "#1 STS\r\n"
        self.send_command(command)
        print(f"Command{command}")
    def set_remote(self):
        """Enable remote control mode."""
        command = "#1 REN\r\n"
        self.send_command(command)
    def set_local(self):
        """Enable local control mode."""
        command = "#1 GTL\r\n"
        self.send_command(command)
    def set_voltage(self, voltage):
        """Set the output voltage."""
        command = f"#1 VSET {voltage:.2f}\r\n"
        self.send_command(command)
    def set_current(self, current):
        """Set the output current limit."""
        command = f"#1 ISET {current:.2f}\r\n"
        self.send_command(command)
    def power_on(self):
        """Enable the output."""
        command = "#1 SW1\r\n"
        self.send_command(command)
    def power_off(self):
        """Disable the output."""
        command = "#1 SW0\r\n"
        self.send_command(command)
    def get_voltage(self):
        """Read the output voltage."""
        command = "#1 VGET\r\n"
        return self.send_command(command)
    def get_current(self):
        """Read the output current."""
        command = "#1 IGET\r\n"
        return self.send_command(command)
# Main program
if __name__ == "__main__":
    # Serial port configuration
    # Update 'port_name' based on your environment (e.g., 'COM3' for Windows, '/dev/ttyUSB0' for Linux)
    port_name = "COM3"
    # Initialize controller and open connection
    power_controller = PowerSupplyController(port=port_name)
    power_controller.open_connection()
    # Switch to remote mode
    power_controller.set_remote()
    # Configure output parameters
    power_controller.set_voltage(5.0) # Set voltage to 5.0 V
    power_controller.set_current(1.0) # Set current to 1.0 A
    # Enable output
    power_controller.power_on()
    time.sleep(1) # Stabilization time
    # Monitor output for 5 seconds
    print("Monitoring output...")
    for i in range(5):
        voltage = power_controller.get_voltage()
        current = power_controller.get_current()
        print(f"{i + 1}Seconds, Voltage: {voltage} V, Current: {current} A")
        time.sleep(1) #Wait for 1 second
    # Disable output
    power_controller.power_off()
    # Return to local mode
    power_controller.set_local()
    # Close connection
    power_controller.close_connection()
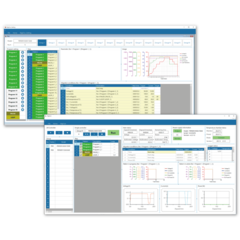
Matsusada Precision's Control Application
While we've been discussing Python, I'd also like to introduce Matsusada Precision's control application, PSS2en. This application software enables complex control of power supply equipment without requiring any programming. It also provides functionality to configure high-speed control settings directly on the power supply unit, which can be difficult to achieve through external control methods.
Introduction of Typical Functions
The software includes the following features:
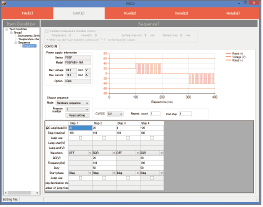
Software Sequence Mode
Software sequence mode continuously sends set value commands from a PC to control the operation of compatible Matsusada products. You can configure various sequences with up to 999 steps, depending on the parameters and operation patterns you want to modify.
(Note: Depending on usage conditions, there may be a slight delay between when a command is sent from the PC and when the power supply responds.)
Variable parameters (each parameter can be set individually)
| DC power supplies, high-voltage power supplies, and various power supplies via the CO/USB series interface adapter | Voltage, current, operating time |
|---|---|
| DC electronic loads | Voltage, current, power, resistance, operating time |
| AC power supplies, bipolar power supplies | Voltage, frequency, operating time |
Operating patterns


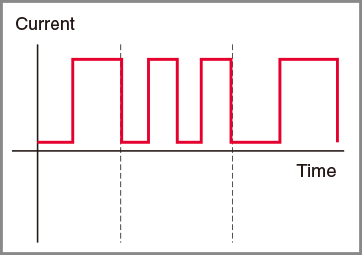
Hardware Sequence Mode
In hardware sequence mode, operation program parameters are set and executed directly on the power supply unit. This allows for configuring pulse and ramp settings on DC power supply units equipped with the -LDe (pulse ramp sequence) option. The maximum number of memories that can be set is 20, providing smoother operation compared to the software sequence mode described earlier. Note: DC power supplies other than P4LP and 4LT: Number of memories: 3 (a, b, c) P4L, P4LT: Number of memories: 20 (a through t)

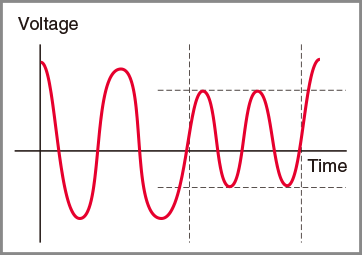
Hardware Sweep Mode
Sweep settings can be configured for DC power supplies equipped with the -LDe (pulse ramp sequence) option and TB series main units.
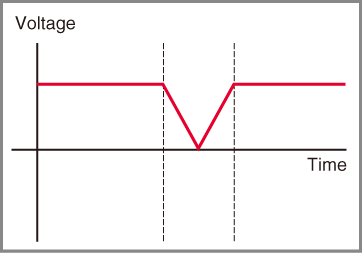
Hardware Sequence Mode for Bipolar Power Supplies
Sequence parameters can be set for bipolar power supply units, making it easy to generate complex waveforms, such as:

Conclusion
Throughout this guide, we have explored various aspects of Python programming. We encourage you to try using Python, a simple and intuitive programming language, to control power supplies and measuring instruments.